"One day, you will look back, and see that all along you were blooming" - Harper Nichols
Showing posts with label Before and After. Show all posts
Wednesday, June 15, 2022
Tuesday, June 14, 2022
Monday, June 13, 2022
Friday, June 26, 2020
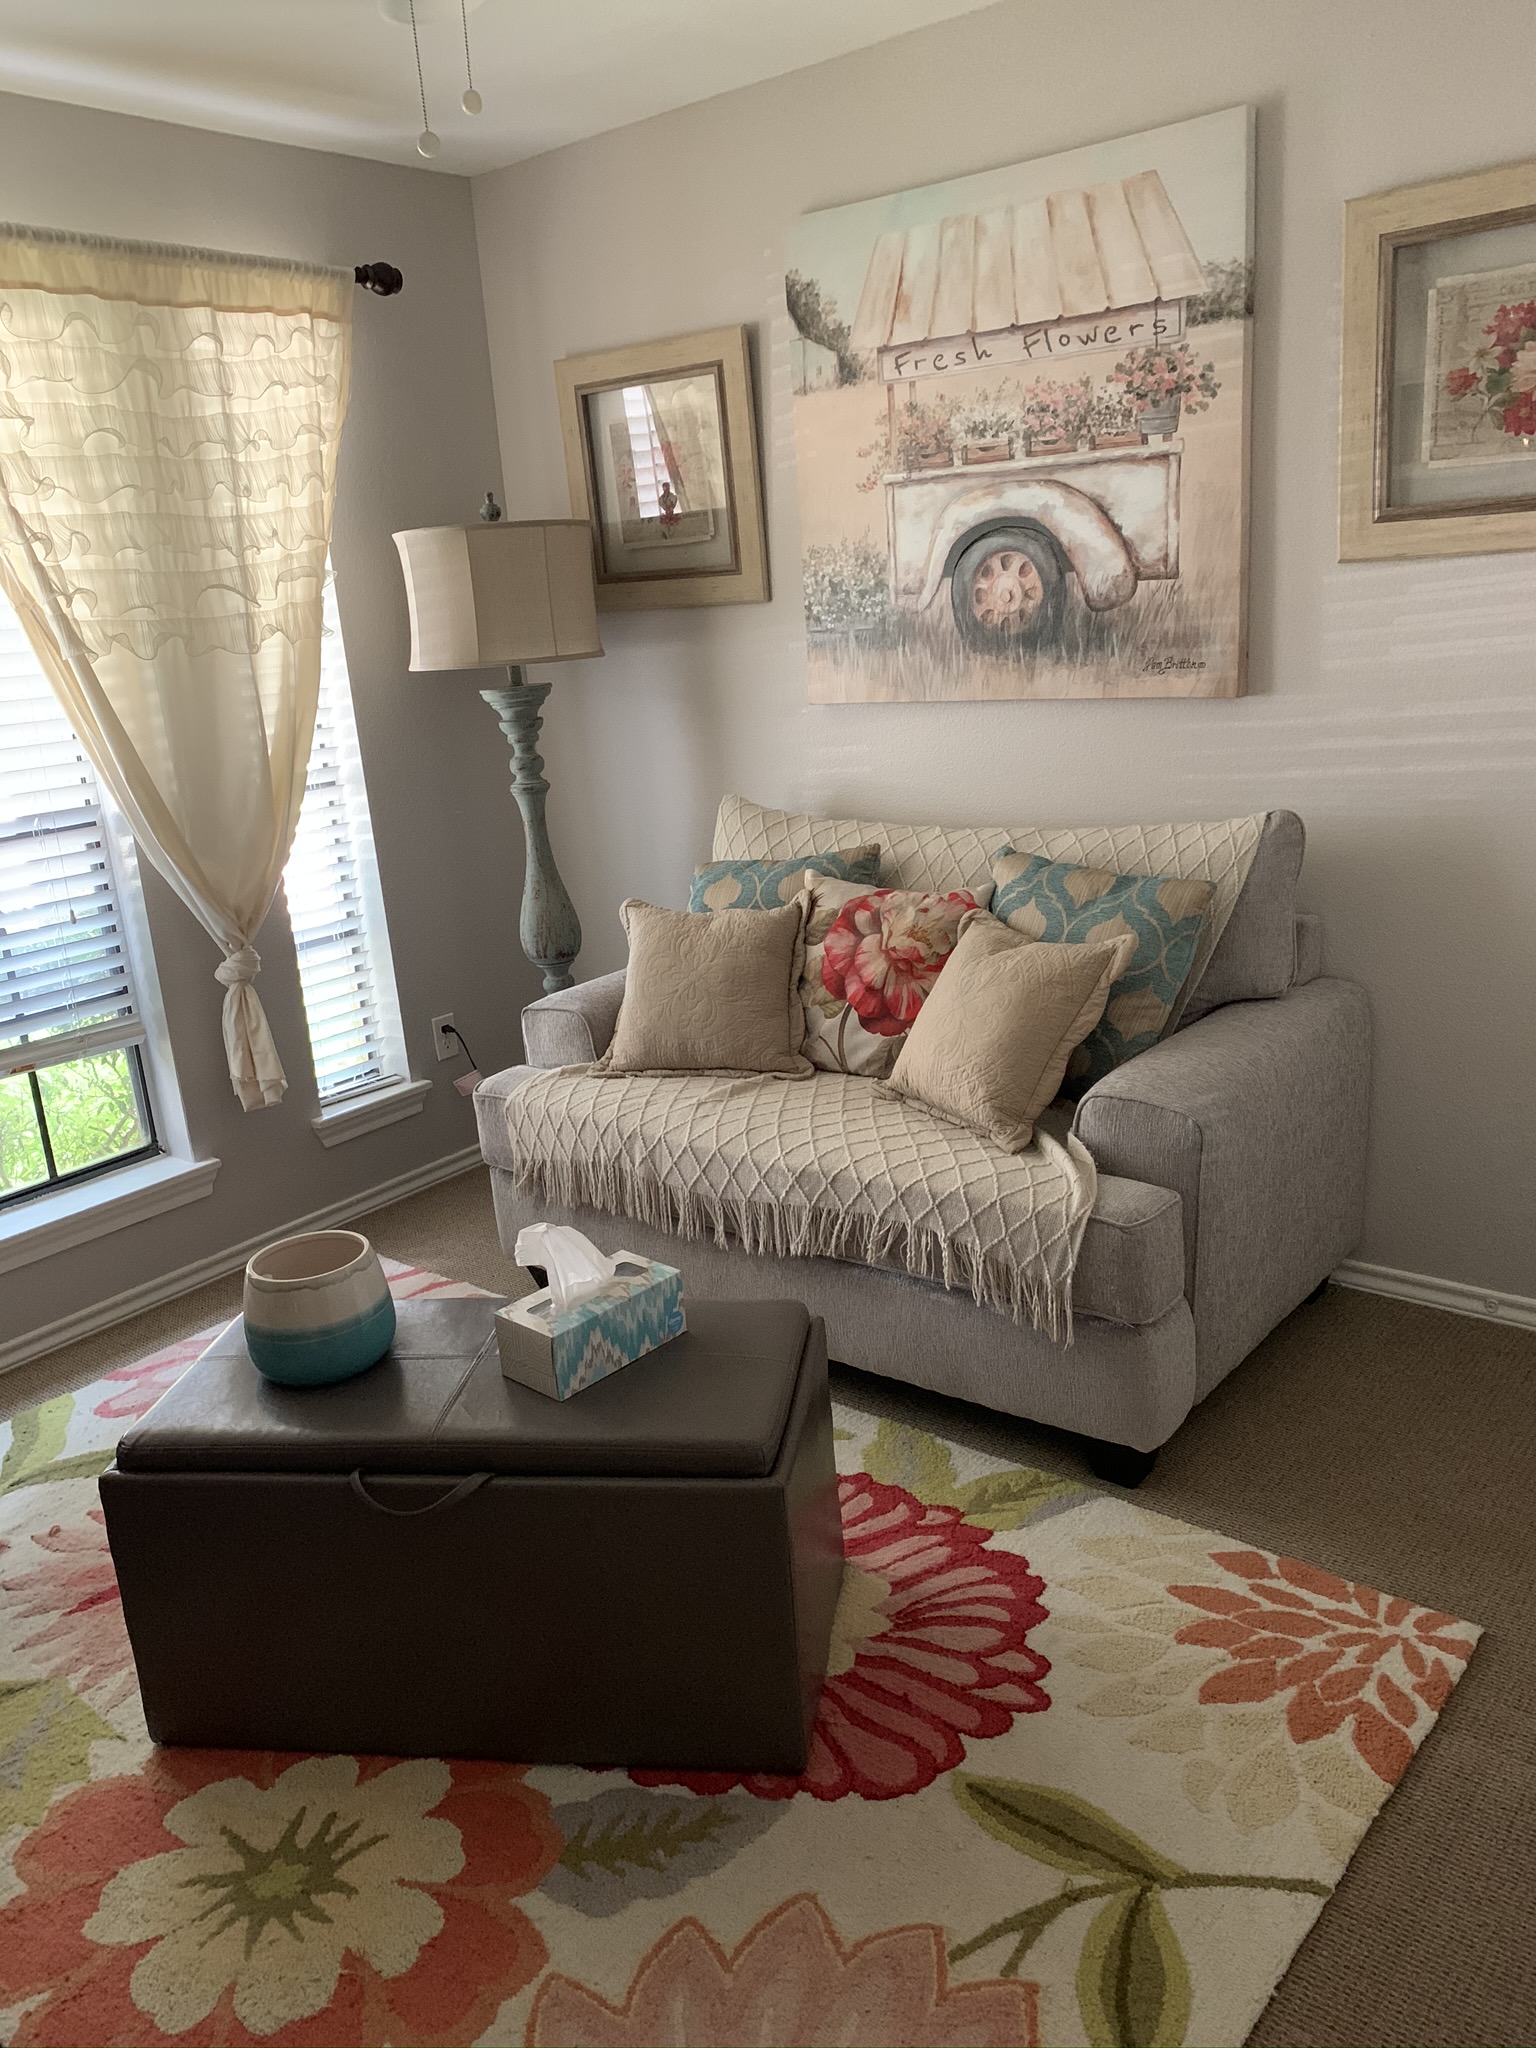
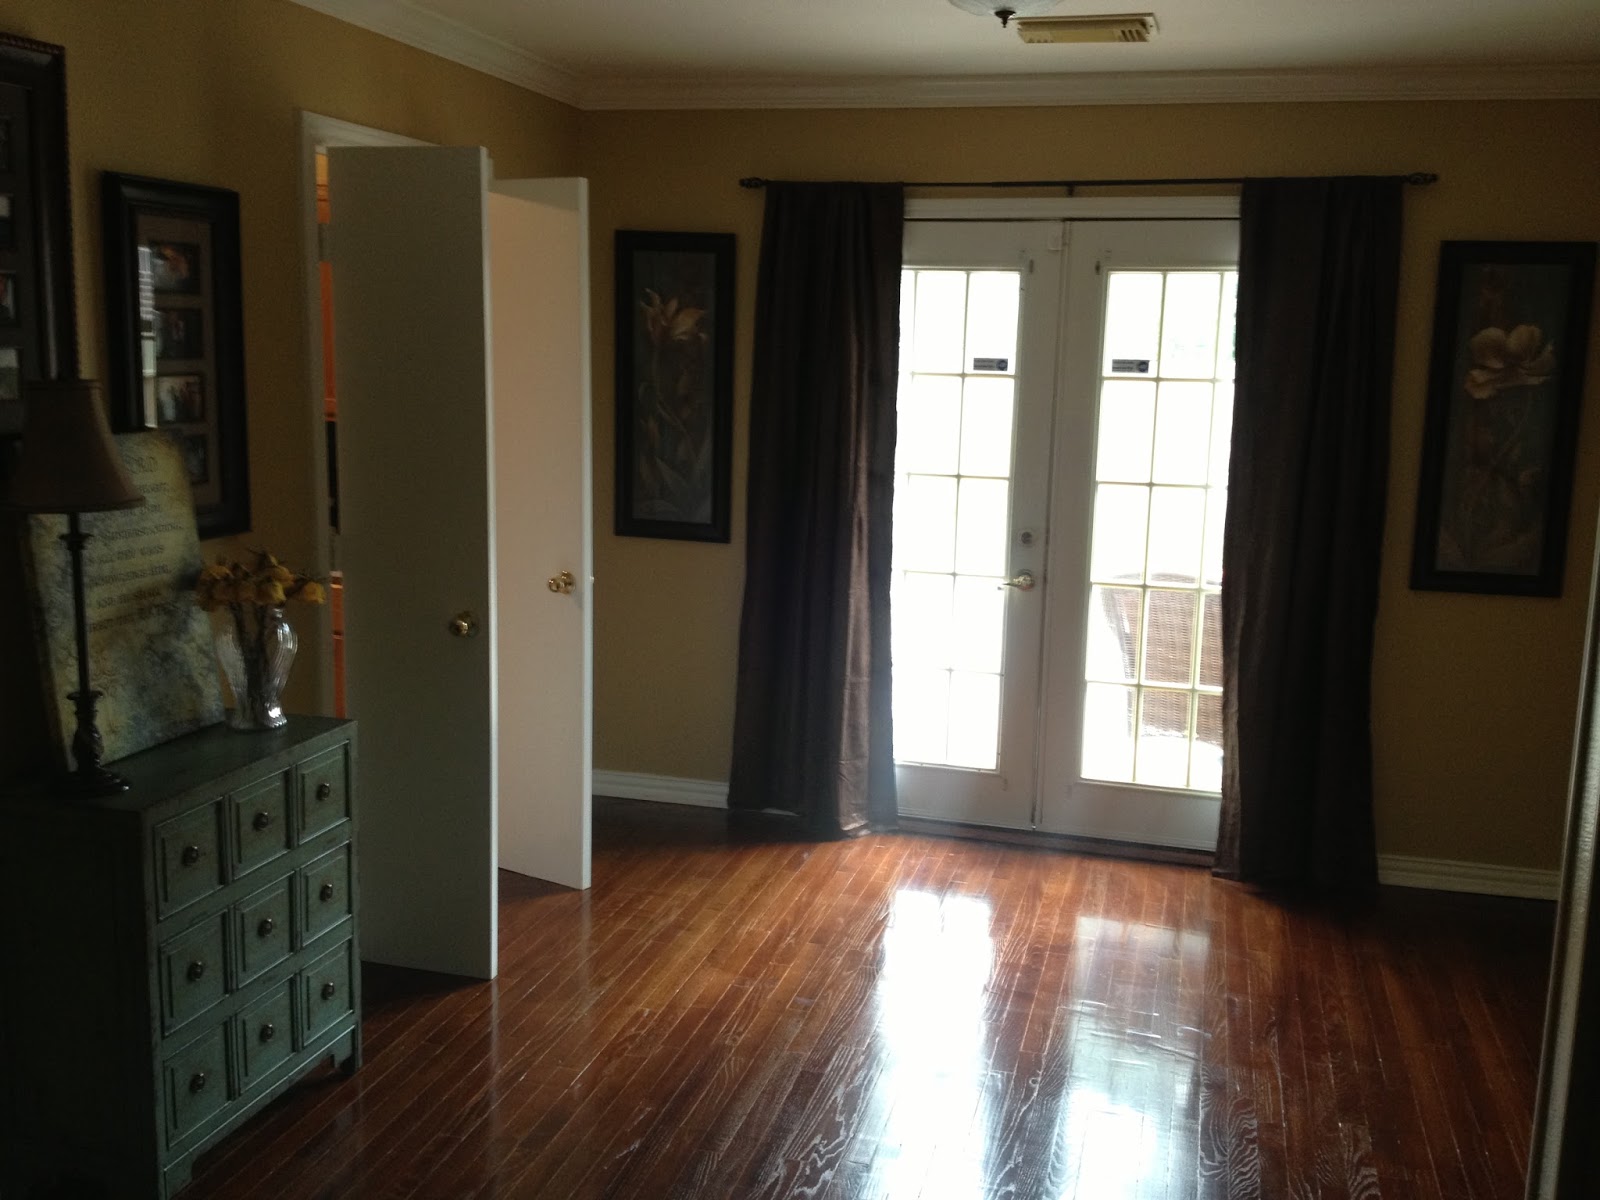
Before & After : Office vs Reading Room
BEFORE (2012):
The first time we gave this room a makeover. Since then we have moved my desk to our Master bedroom. I love the view I have from from there.
AFTER (2020):
Wednesday, June 24, 2020
Backyard 2012-2020
Back Patio 2012 when we first moved in
Back patio 2020
Future project: replacing the back door and painting it a fun color.

I love seeing the birds play in our fountain
My Hydrangeas are having their best year yet!
Back Deck 2012
Back Deck 2020
Monday, March 2, 2020
Freshening up the old office with Behr's Burnished Clay
Hubby and I spent the weekend freshening up our old office. We've been in a season of decluttering. We continue to fill up boxes and drop them off at Goodwill. How can two people accumulate so much stuff? I haven't used this space as an office in years. It's more of a prayer and reading room for me. This is where you'll find me at 2am or 3am praying, thinking, writing. I moved my desk to my Master bedroom and placed it in front of a window with a beautiful view to our fountain and birds who enjoy it.
The new paint color for our front room is Burnished Clay by Behr.
My hubby. I think the hardest part about painting is all the prep work. Removing socket covers, wall art and hooks. Then patching up holes etc. It's always worth it in the end.
It feels light and bright now
The final look!
I love reading in here on a sunny day and praying in here in the evenings.
The final look!
I love reading in here on a sunny day and praying in here in the evenings.
Burnished Clay by Behr
Monday, November 19, 2018
End of 2018 Update!
Flashback our first apartment!
Hey, Friends! It’s been a minute! We’ve made many updates to our home in the past year. We replaced the old electric panel, installed a new water heater, repaired the AC again, bought a new microwave, replaced garage door springs and I’m sure something else I’m forgetting. Fixing up an older home never ends but looking back on the journey and seeing how far we’ve come, makes it worth it. God has been faithful every step of the way.
I still haven’t replaced the fireplace tiles. I’m not sure what I want
to replace them with. The back and forth drains me and causes me to
procrastinate. It will happen eventually, I guess. It will be easier
once I know what tiles we are going to use in the rest of the house.
Until then, it will remain an eyesore.
We finally invested in new sofas. We were hesitant since we have three dogs. After researching different types of fabric we took the leap. When we were picking out our sofas we went more with function than style. We consider style, but figured it was our only living space, and comfort and practicality were more important. Plus the dogs! I didn't want to worry about them destroying it. Hubby really wanted power recliners with built in chargers and I loved the gray with cream stitching. We are happy and enjoying our space!
I bought a couple rustic window picture frames last year (you can see pictured above, behind the loveseat). They remained empty until last week when I finally decided to go with matching black and white pictures. Once my Brother’s baby, Harper, is born I’ll add a picture of her. It’ll be my parent’s first grandchild. I’m beyond excited for them!
Sunday, October 23, 2016
Weekend project - mildew
After/Before
My little weekend project. Our gutters have had a little leak for the past year or two. The leak as allowed water to drain directly down a section of our bricks creating a mildew stain. I assumed it would be difficult to remove and procrastinated cleaning it. To my surprise it was extremely easy to scrub off. All I needed to do was soak it with water to soften the mildew and then use a soft cleaning brush to scrub it. I wish I would have done it sooner.
Wednesday, August 31, 2016
Before and After : The Happy Harvest Edition
2012 Before Picture
2016 Happy Harvest after picture
2012 Before picture
2016 Happy Harvest after picture
Thursday, August 25, 2016
Flashback 2014 - changing the air vents
Before and After
Hubby changing out the air vents throughout the house!
This is before we repainted the bedroom.
We changed all the vents throughout the entire house!
Simple budget friendly updates!
Wednesday, February 5, 2014
Laundry Room Makeover
What can I say about our Laundry Room. It was sloppily painted a greenish tan color and the grout was black. It looked dirty all the time, no matter how hard we cleaned it. Finally, after a year of living in our house we decided, it was time! So, last weekend hubby and I put on our painting clothes and got working.
You can see the before picture of the laundry room here. You can also see where we started to paint the grout.
This is the wall across from the washer and dryer. It's been our paint sample wall for the entire house for the past year. My Dad loves it - looks like camo! ha-ha!
I searched for awhile before I found a color I liked for the laundry room. I didn't know if I wanted to go bright, funky, dark, warm, cool...etc. I had no direction. But I was craving some chocolate...I guess hormones played a huge role in this decision LOL! I narrowed our choices down to Behr's Country Club, Milk Chocolate and Oakwood Brown. We both liked the darker color, Oakwood Brown, figuring we really couldn't pull off such a color anywhere else in the house. Yes, we broke an assumed rule for dark colors and small windowless rooms. Oh well! :-)
This is the moment I started to doubt my decision. I knew the walls would look extra dark until the cabinets were painted and the washer and dryer were added back. But I still couldn't shake the doubt. My hubby kept reassuring me. He saw it. He had the vision locked in his mind and never doubted the process. The brown highlighted the dirty grout and messy painted base boards and made the cabinets look super orange. As with every room we makeover I told myself repeatedly , "It's just paint, you can always repaint."
After the walls were painted, we began working on the cabinets. We took down the doors and set them up in the garage. We rubbed a liquid deglosser on the frame and each door. Then, we painted two coats of primer with a roller made for painting cabinets. The next day I painted two coats of white interior acrylic paint. Never use oil paint - it turns yellow over time. Once all the painting was complete we purchased a few decor items to finish off the room.
We even got a new key holder for our dog's leashes behind the door. What an upgrade from simple nails! We found a cute laundry room sign and a lovely large flower print for the wall across from the washer and dryer that reads, "A walk in the flowers" in french. As you can see, we also put on new crisp white face plates for the light switch and electric sockets.
We also got a runner to warm up the space. Look at the clean crisp floors and base boards! :-)
Cabinets before and after
The final look with new hardware on the cabinets. The only thing we have left is crown molding (eventually) and a wall inlay that allows the dryer to be pushed back a few inches. :-)
Saturday, August 10, 2013
Dining room
Our dining room continues to transform. Check out our new window treatment for the French doors.
(When we moved in)
(after we refinished the floors and painted)
(Before we changed the blinds on the French doors)
(we changed the blinds on the French doors. We love having curtains instead. Now we can see the entire deck area, and block the heat of the sun in the afternoon.)
Subscribe to:
Posts (Atom)