The Newmans

Showing posts with label demo. Show all posts

Wednesday, July 8, 2015

DIY Mantle

     My next project, only because I assume it will be easy, inexpensive and I can do it on my own, is to change the tile on our fireplace. The only thing I'm stuck on is what to replace the white tiles with. Obviously, I want something warmer but other than that I'm very indecisive.


 (2012 before we moved in)


As you can see the tile doesn't go well with our moody space


I think the white sticks out like sore thumb


IDEAS:


I love the idea of adding a thin decorative trim to whatever tile we choose, as seen in this picture. 

Thursday, August 1, 2013

Back Patio: Sloping

   Soon after we moved in we noticed a sloping issue in our backyard patio area. We didn't know why the yard was sloped so crazy. All the rain water was basically flowing toward the house in one area. It's important to remember when doing any type of projects in your yard that the builders build the lot with a slope. A sublet tilt that causes rain water to flow away from your house and into the street. People often have issues when remodeling their yards because they forget or don't know this important information and disrupt the slope.

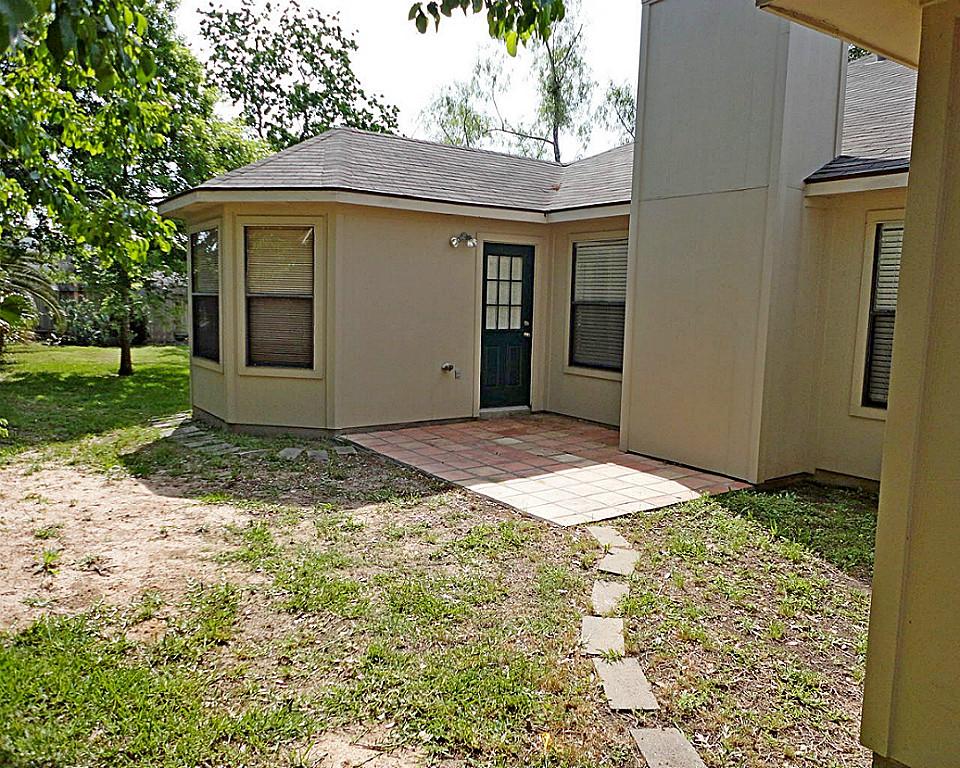
(This is the picture from HAR. It's hard to tell but the area with bald spot of dirt is much higher, like a little hill, which was messing up the flow of the yard. All back yards have a slope that leads water away from the house. In this case the water was being pushed back into the corner. Also there were no gutters which added to the issue. So we installed gutters which protect your foundation from damage.)


(Picture of water collection)


(More water collection)


(Yikes, right?!?! As you can see we tried digging an opening which only made the situation worse because of the sloping issues.)


 (Scary for a woman, seriously. But the guys knew what to do.)


 (My dad was a surveyor for a few years, also worked as a diver and civil engineer, so this was nothing for him to figure out. He layed out wooden stakes and strings across the yard to determine the slop. Then started cutting and scalping the ground. We used the top grass parts as sod in dead areas of the yard *smart idea*)


(My hubs and dad digging out the high parts and using the dirt to fill in the low area that was filling with water)


       After the digging and moving of dirt was finished we let the ground settle, then bought some sod to fill in the scalped area. We had professionals install gutters. When all that was finished we started our next project....a relaxing fountain area.

Monday, July 29, 2013

Mantel: Before & After

      Buying our first home was the most stressful thing I've every experienced thus far in my life. It's not that the process was overly bumpy, it was actually extremely smooth compared to the stories I read online. I guess it's those stories that freaked me out. I was comforted when I found out others I knew felt the same way buying their first home. :-) I wasn't crazy!
      After getting the keys the joy quickly faded as the renovation process started. I wondered if we'd ever unpacked all the boxes filling the two bed rooms, would we ever fix this and that, would the feeling of being a visitor in our own home ever fade? I knew I needed to complete the living
room and bed room, then I'd have two spaces to enjoy.
      Now that we have those two rooms almost complete besides a few decor items I'm in love with our house again *emotional roller coaster*. In this situation it's important to remember where you're headed, and not focus on where you are. Fixing up an older house can be taxing, but if you hang in there and remember why you started you will find great joy in every accomplishment.
        Right now we are enjoying our mantel. It's come a long way.

BEFORE


 AFTER
(I love how you can finally see the green in our peacock tail blue by Behr) 


Thursday, July 18, 2013

Replacing the Quarter Round Molding

       When we first moved in the previous owner had ripped out the base boards when laying the wood floors, and replaced them with a quarter round molding. My father-in-law offered to help us install real base boards.

Here are a few pics of my dad helping me as I purchase our base boards:


My Father-in-law hard at work:


 Hubby painting the new base boards:


Tuesday, July 16, 2013

A bigger Master bedroom

      My major prayer request when we started house hunting was for God to bless me with a huge master bedroom. My husband brought a large framed king size bed, matching night stands and a huge dresser into our marriage. While living in the apartment we barely had room to walk, and the dresser stayed with his parents. A small master bedroom was a deal breaker. I wouldn't even look at a house until I saw the master's measurements.  
      We looked at this houses several times before putting an offer. After much prayer we moved forward. But one thing was for sure, that over-sized storage unit had to GO!


(In this picture you can see how obnoxious the shelving unit was. It's also a good picture of the floors before we refinished them. You can also see the quarter round molding before we installed real base boards.)
 (Our nephew helping us pick paint colors )

 (Our nephew explaining why his color choice is the right one)


 (My dad being silly and my mom holding our nephew)

 (Yes! It's gone! The painters we hired had to re-texture the walls.)

Would you like to see what our master bedroom looks like now? I will reveal more in future posts. :-)